Continuing on....

After the paint was dry, I masked the top with tape, then marked a grid using a ruler and pen.
Then, I cut around my pattern using a knife and "weeded out" the tape where the paint was to
be applied.

Once the masking was done, I sprayed down several coats of silver, followed up by clear yellow.
After it dried, I peeled the masking tape off.
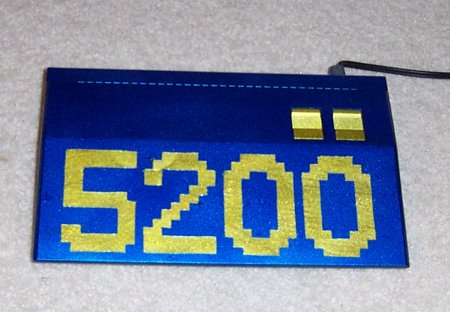
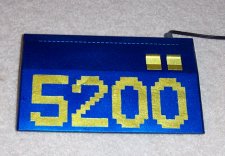
Dum De Dum! The finished product after 4 layers of clearcoat paint. There's a bunch of defects
in the finish, and you can sorta see where the bondo was in places, but overall it came out OK.
For my first time, I can't complain. I know now what to do and what NOT to do, so future projects
should look much, much better.
What good is a snazzy case if the menu sucks? Here's what I got after 6 days of programming.
It came out pretty nice, though it still needs a bitchin' title graphic yet. Behind the menu
list, 15 coloured bars move around in a hypnotic pattern.
The games are sectioned off into categories, with the category heading at the top above the
progress bar. As you move through the game list, the progress bar moves to the right to visually
indicate how far through the list you are. bouncing colour changing arrows indicate which game is
selected, and they smoothly move from game to game as the list is scrolled.

At the bottom is the PokeyMon(tm) which shows what the Pokey registers are doing. These
gyrate and flash to the music. Position indicates frequency, brightness indicates volume. The numbers
to the right are the distortion settings for that channel. When reset is pressed (after playing
a game), the menu comes back right where it left off... music, menu position, etc. This allows for quick
game selection without having to page through the entire list.
| 