PICTURES
CopyNES PCB pictures, with a description for each. Click on the picture for a larger view.

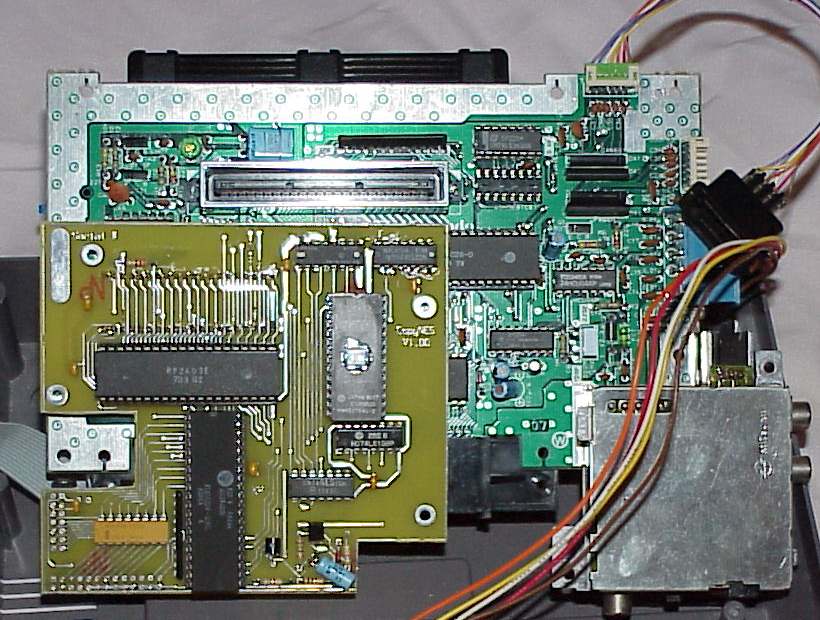
CopyNES PCB mounted
The PCB can be seen in its "resting place" attached to the bottom of the NES' CPU board.

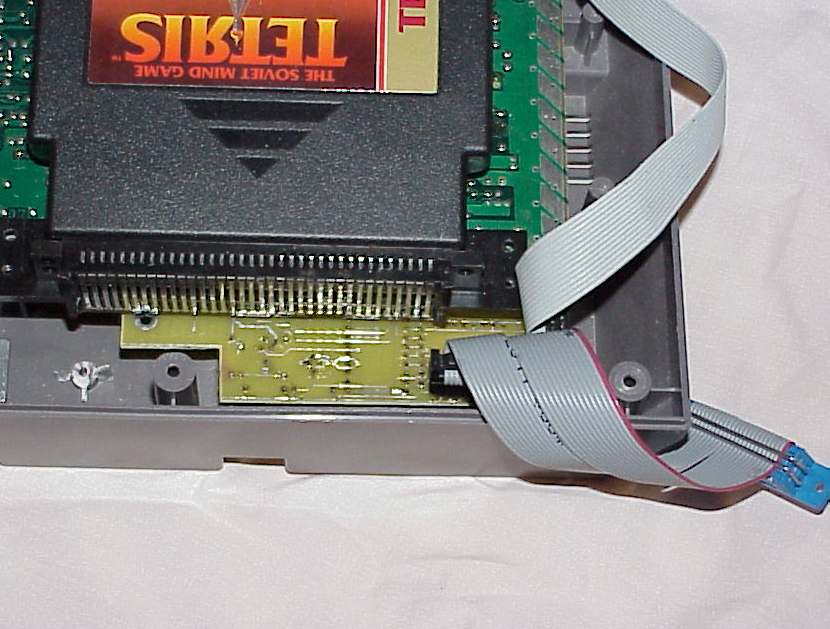
CopyNES PCB mounted
Here's the board connected up to the CPU's socket. The notches on the board are there so it clears the mounting standoffs in the NES.

Board bottom
The bottom of the board. The 40 pin header that plugs into the CPU socket can be seen.

Board top
The top of the PCB.
|