Now, put the membranes on top of the domes. Get it right or you MIGHT be typin' but it'll come out all garbled and shitty! |
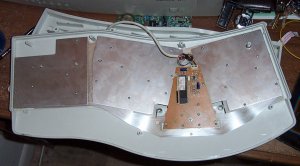
Put on the plates to hold your keyboard sandwich together. Damn there's alot of those little bastard screws. The PCB mounts over top of the plates to make a circuit with the membrane (pushed by the squooshy rubber). Don't forget that clear plastic thing over the LEDs when putting the board on. |
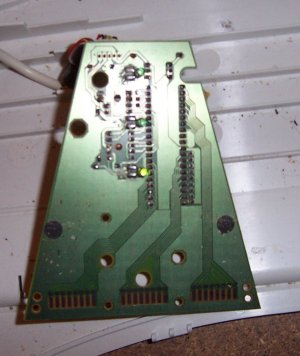
Here's what the PCB looks like on the back side. |
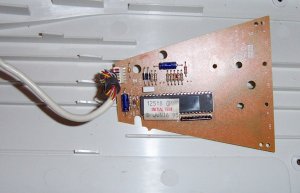
And the front. |
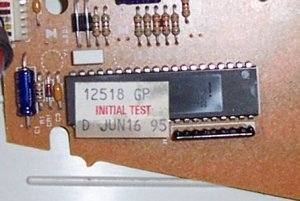
Check out how old this damn thing is. |
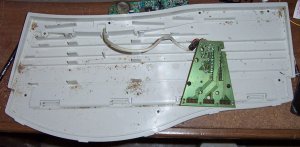
Eww that's nasty. Dirt and crumbs and crap collected in the bottom thanks to shitty gravity. |
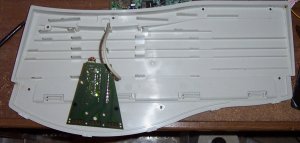
A little windex fixes things right up, as well as liberal application of cussing. Yes, the keyboard was still ON and plugged in during this whole ordeal. |
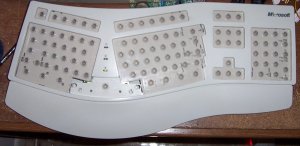
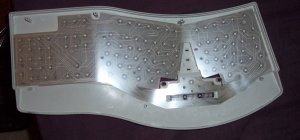
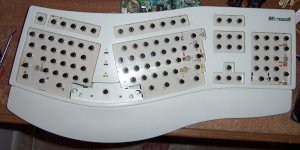
Here's the front without the black plunger/tit things, and all the dirt cleaned off. |
And with the tits installed. |

Your job, if you choose to accept it, is putting these keytops back on the tits. |

Woohoo, it's done! It's like having a brand new keyboard without the brand-new price. |
blah. |