Atari 5200 Jr. Console
W00t. Day two! Check it out
A new Atari console I am developing
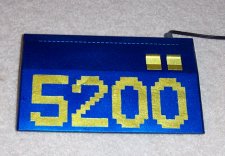
5200 Jr.
Seems that when Atari released the original 5200, they were trying to emphasize that Size Matters. The console was huge! The carts were pretty large as well. Opening up a 5200 cart reveals the board could fit inside an Atari 2600 cartridge housing nearly. Anyways, since I didn't want to lug around a large 5200 and assorted carts, I came up with this doohickey. It is a complete Atari 5200 console with ALL the games inside it. Even Bounty Bob Strikes Back is included. The case is still in rough shape at this point, but it will be fixed later on. I was more interested in getting the software/hardware working before worrying about packaging. I will fill in the switch holes on the top, and I will fill the area left after removing that metal "rainbow" piece. The "reset" and "select" buttons still function: The "reset" button brings the menu back up (so you can select a new game) and the "select" button is power. Pressing it once turns the unit on. Pressing it again turns the unit back off (just like on a real 5200).

I hacked out some more of the normal DB-9 controller ports a bit so the 5200's DB-15 ports could stick out. This device runs off of a normal Atari 2600 wall wart, so that huge line lump that came with the original 5200 is not required. The difficulty switches are not present obviously, and I will be filling the holes left with body filler before painting everything. The cable is just an SNES A/V cable I chopped up. The little strain relief is from where the cord would've entered the body of the SNES A/V connector.

This is the custom PCB I designed and had made for the unit. I managed to cram an updated Atari 5200 gut into the space alloted along with the multicart guts, on the same board. I have the "old" 4 port BIOS ROM in here since a couple games rely on code being in a certain place: this code is moved on the newer ROMs, which causes the incompatibility. I have replaced the 16K of DRAM with a 32K SRAM, and disabled one of the address lines so it acts as 16K. This got rid of 8 RAM chips and all the associated refresh logic. All the games fit into 2 1Mbyte EPROMs, except for 32K of bankswitched ROM which is solely used for Bounty Bob. The unit has the Atari 8-bit computer video circuitry on it so it outputs composite video directly, just like the 8 bit would.
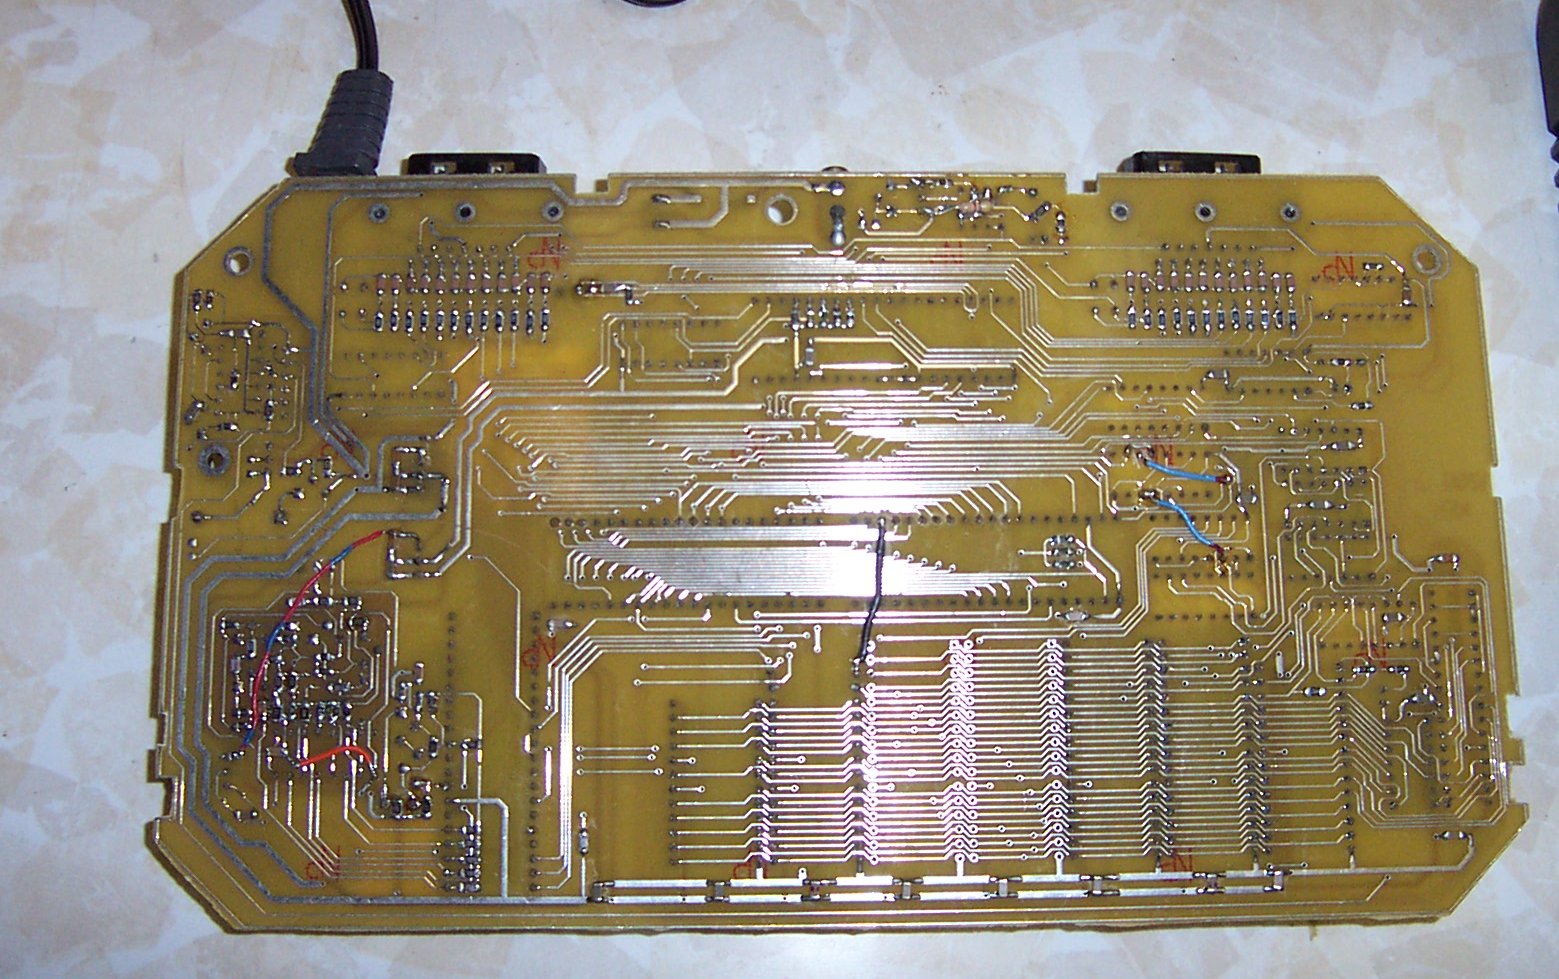
Here's the bottom of the board. I used a bunch of surface mount components on here to reduce size and make life easier. There are a couple uhh, "fixes" on here where I ran a route wrong, or later had to revise something.

And here's the software that runs the unit. It is pretty early at the moment, since I was trying to get the code to work properly (it does now!) So I want to add other things to it, like maybe raster effects, music, etc. I will be expanding the names to their full size as well. Right now, it is just showing the filenames of the ROM images used to generate the EPROM data (I automated this to prevent errors, and to prevent having to type it all in!)

All good 5200 Jr's need a good controller! No, that stock 5200 piece of shit joystick will NOT do. Here is something better. It is made from a modified Jag pad. I used the cable off of a 5200 stick to make it. The little strain relief even fits and it looks like it belongs there. This controller works on any standard 5200.

It is just a slight little mess in there. This didn't take *too* long to make, you just have to match up the buttons on the controller to with how the 5200 expects them. The 12 key keypad needed no modifications, it was already in the correct order. Since the 5200 is expecting analog joypad inputs, I made a circuit that converts the digital directionals into resistances, like a real 5200 stick would. I used some analog switches and resistors for this. It seems to work pretty good. The chip is being held onto the board upside down with resistor leads poked thru the board. It's actually pretty stable and it works well.

Here's the top of the board. All of the little "fixes" I did to remap the buttons can be seen. I used fine wire soldered across routes since that is all that would fit. I could've drilled holes and wired up that way but I didn't have a drill bit small enough at the time. Before starting, I desoldered ALL of the connections on the boards, and removed all the parts. This gave me maximum flexability with where everything would go.
|
