
First you start with one of these things.
|

Then you take it apart as far as it goes. |

Then you remove the little plunger thingies and the little plastic bails for the longer keys, along with the wire bail for the space bar, and the black sponge rubber thingus (see farther down for function). |
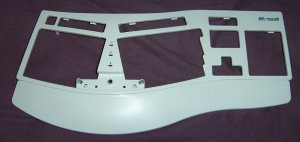
The poor empty husk of a former keyboard. This particular one has 3 plastic plates that snap into it that holds the keys themselves. |

The three plates that snap into the above part to form the base for the keys. These plates get REALLY fucking dirty. I had already cleaned them by the time I took these pictures, but it had tons of crumbs, hairs, finger nails, and other assorted crap on it. Windex was used throughout to clean EVERYTHING. |
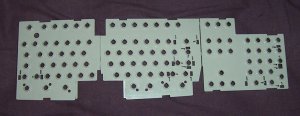
Looks like all three were one piece, then broken apart. |
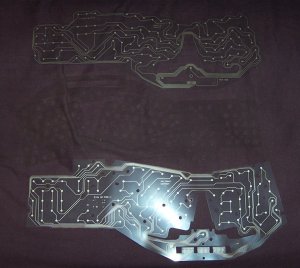
Here's the membrane key thingus split into its three layers. |

There is also a rubber dome piece which is what returns the keys to the "up" position after they have been pressed.
|
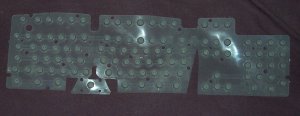
Like the plates, the rubber thingy was all one sheet cut apart with scissors. |

First, put the little plastic bails on the backside of the plates, and put the black plungers into the holes. You DO remember which bail goes with what key, right?! |

Put the little rubber dome thingys on.
|
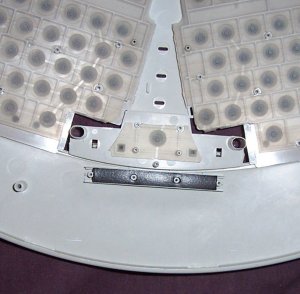
Don't forget the single little dome thingy and that black squooshy rubber that forces the membrane's contacts to the PCB. You won't be typing shit without it.
|


